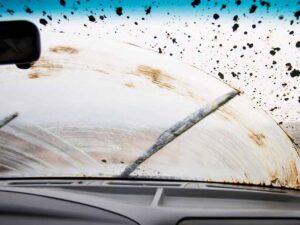
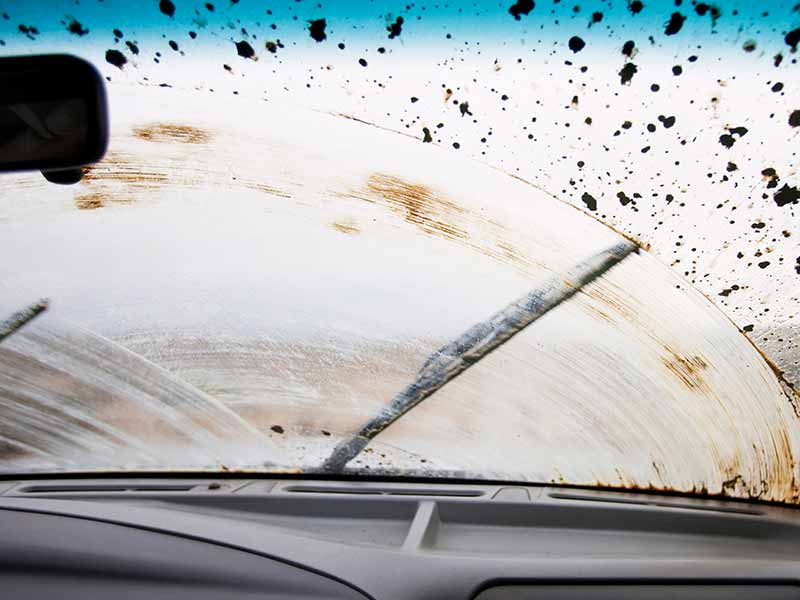
A sight none of us like seeing. Bubbled, deformed, the equivalent of acne for a car. The window tint nightmare. Hideous to look at so obviously as a car owner you want to do something about it. Should you do something or is this a job for professionals? I aim to answer that for you today.
Outlining everything possible, we’ll walk through the process of removing tint glue from a rear window with defroster on it. This will probably feel a lot like a “How To Remove Tint From Window” guide but we’ll try to remain focus on only the back window and its tint adhesive.
There are some important things to remember and this may be a long tedious job, but one that could save you quite a bit of cash if you can master it yourself. These steps do not specifically deal with removing the tint but it is a common by-product of having to remove the glue. So let us dive in and see what we have going on.
What Is Tint Glue?
Tint glue is the sticky adhesive that holds the tint in place on a window. They use stuff that really makes it stick! It can be installed either at the factory or by someone who added the tint later on. When you are attempting to repair or replace the tint because it has deformed and wore out, if you are not careful you’ll end up peeling tint away and leaving a sticky mess behind, but also potentially damaging your rear defroster. It is this sticky mess we aim to tackle today while leaving your defroster intact.
How To Remove Tint Glue - Methods
When removing tint glue you can’t just go all willy nilly removing it if you have a rear defroster. The rear defroster is a grid of metal mixed with some resin. It is the main part that warms your rear window up and defrosts it.
When it comes to those little lines of metal though they are weak and when removing the tint or tint glue it is quite easy to remove them as well, effectively ending your car’s ability to defrost its rear window.
Throughout this guide be careful not to damage those lines, and take your time. We are trying to fix one problem and not cause several others. Now that we are ready to move forward let’s gather some things that will be helpful in removing tint glue:
- Goof-Off – A product that is really good at removing old adhesive. Available at most hardware stores this stiff puts the “Goof” in goo off, cutting through the sticky and making it disappear.
- Goo Gone – Similar to Goof-Off this stuff works at breaking down the adhesives and making the removal process that much easier
- Steel Wool – This will be used to really scrub that adhesive off and get in between the defroster lines. As long as you don’t apply a tremendous amount of pressure it will not damage the window either. Only use this if you absolutely need it as one slip can ruin your defroster grid.
- Glass Cleaning Tool/Cloth – A soft glass cleaning tool like the Invisible Glass Reach and Clean Tool or cloth will help finish up the job and add that nice clean, clear look to your windshield when you are done.
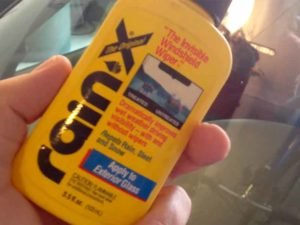
- Glass Cleaner – Again I recommend the Invisible Glass Cleaner for cleaning my windows but any similar brand will work
- Tarp/Plastic – This is to protect your rear parts under the window, such as your speakers, carpet, etc. Tape may also be a good idea to hold in place but the idea is to just not get your cleaners over everything.
- Heat Gun – This may come in handy if the window tint is still there.
- Garbage Bag – This also may be useful in removing the window tent should you not have another method available.
- Razor Blade – You’ll use a razor to help peel the tint off. It is easier to use than your fingernail and will really help protect the defroster lines when you use a razor blade.
- Plastic Razor Blade – A safer tool than a regular metal razor blade is a plastic razor blade. It obviously won’t be quite as good at getting under the tint but with the right technique it is much safer for you and your rear defroster.
Now that we have gone over the list of stuff and hopefully you have gathered everything, let us get started on removing that tint glue, shall we?
First, start off by covering up everything with your tarp or plastic. This doesn’t have to be perfect but while you work you want to try and keep your car from getting too dirty and make sure cleanup is a breeze. If you use a plastic bag that catches everything it will be easy to just tie that up and get the trash out from inside there. You could even use an additional trash bag. Whenever you are tinting a widow or removing old tint this is simply a good idea. In fact, having bags in your car is a great idea because you never know when you’ll need them, just some friendly advice there.
Moving on though it’s time to work with the tint. Now if you haven’t removed the tint yet then this is the time to start on that. This is not a “how to remove tint from windows” guide but it is a “how to remove window tint glue” guide which you’ll find are very similar. There are other guides out there on “how to remove window tinting” it’s all the same job just more, less, or different steps. There are a few different methods you can use to go about this but we will focus on just a couple. First up is the trash bag method.
Trash Bag Method
This method is best in sunny weather. You take two trash bags and cut them to fit your window. Now, this does not have to be perfect but try to get close to the same shape and be sure it’s even on all sides as this will help with the tinted window. Place one bag on the outside of the car by spraying the window with water. A cleaner is ok too, you just don’t want to waste what you have. It’s more important to spray it on the inside of the car, with that said though you can still use water there too. The idea is you want your trash bags to stick to the window absorb heat and weaken the tint.
Heat Gun Method
If the trash bag method isn’t for you, the next option you can use is a heat gun. Same idea, just a sweeping motion instead of waiting for the sun to do it. This is a lot more effective if the weather is not cooperating with you or you need to try and get it done faster. The only issue here is once you move from whatever spot your heating it will quickly cool off so you make have to go back and forth before you pull or scrape at the tint.
Once the tint is decently warmed up its time to take your razor and start to peel the tint away. If you’re successful the tint on the back window will peel away in one piece and there will be no tint adhesive to remove. This is where you can just put the garbage bag or heat gun away and move on to cleaning it up and either leaving it off or reapplying tint if that is what you choose. The most important thing to remember is to be slow and steady. By going slow you’ll remove the tint off the back window without damaging the defrost grid. Take your window cleaner and spray it down to get that nice clean look.
Adhesive Removal
When removing the tint there might be several spots that get left behind that have to be peeled individually. Several spots can be left behind that you will need to clean. You’ll need your razor blade for a little while longer though.
Taking the razor blade go along every piece that did not come off and gently peel it away, again being careful not to damage the grid which could happen easily. Work your way from one side of the back window to the other working the razor blade under every piece of tint that stayed behind. This will probably leave that sticky film behind that we will be taking our cleaner to shortly.
This is where you want to take the steel wool and a spray bottle of whatever adhesive remover/cleaner (such as Goo Gone) you want to use to start getting the “goo gone”. See what I did there “goo gone” ha, ok enough clowning around, you may have chosen WD40 after all. Between the spray bottle cleaner and the steel wool you just work over all the remaining residue on the rear window until it is mostly gone.
Again, be careful with the steel wool so you don’t do damage just cleaning up the last bits, it is good stuff to use just don’t get carried away. Using the window cleaner afterward will get everything cleaned up and looking shiny again so you can move on. Wrap up the trash and there you have it, window tint and consequently tint glue is all gone.
Helpful Links
Conclusion
Well, here you go, a great looking back window again with no cruddy, bubbling window tint anymore.
The adhesive may seem like a real pain but with the right tools and chemicals it can become a breeze. Hopefully you found something in this guide that will help you get the glue off and protect those defrost lines the best it can.
If you can, avoid metal razors and steel wool. Only use those if you are really struggling in a specific area and need the extra help.
I believe in you and be sure to check out some of my other guides for any other work you may be doing!