Table of Contents
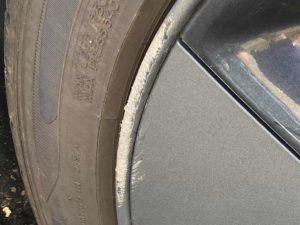
Although aluminum rims look amazing on cars, they tend to become more damaged than metal rims. In order to adequately take care of them, they are going to need a little bit more time and attention than metal rims.
You should understand that before taking on this project that all aluminum wheels are different and will vary in the amount of time and difficulty to repair. However, regardless of the time that you spend on this project, with a little bit of effort, you will be satisfied and have aluminum rims that look as good as new.
Sanding Aluminum Wheels
The step by step sanding of aluminum wheels down to the bare aluminum is used to get out pitting, scratches, and scuffs. It is a must-do before adding polish in order to ensure that you get an even and completely restored finish.
You will need:
- A Mask and Eye Protection – Safety first! Always wear a mask and eye protection when working with chemicals or when sanding. Chemicals in your eye could cause permanent damage and so can flecks of aluminum. A mask will prevent you from inhaling all of the toxins surrounding your workspace so you can focus on the job at hand and not on breathing clean air.
- Wheel Cleaner – Wheel Cleaner is needed in order to provide a clean surface to work on and remove all of the caked-on grime. The Sonax Wheel Cleaner Plus is a good option for people who have heavy dirt spots on the wheel’s surface. This cleaner is acid-free and environmentally friendly which is a great feature to have on anything that will be used outdoors.
- Paint Thinner – Any paint thinner will do as you just need it to break up the thick outer layer of the old metal polish. This will allow you to sand down any of the blemishes easily and more effectively.
- Abrasive Pads – You will be using abrasive pads with the paint thinner in order to work the paint thinner into the old metal polish to get deeper penetration. If the old metal polish is still on in some spots, your sand job will be uneven and not get as professional of an appearance as it would if your sand was smoother.
- Different Grit Sandpaper – You will need sandpaper in multiple grits. You will need 400, 600, 800, and 1000 grit. The 400 grit will allow you to get deeper trouble areas whereas the finer grit sizes are used more for detailing and feathering out your work.
- Wheel Brush – A wheel brush such as one from the Chemical Guys would be a great option to clean your wheels as they offer a variety of different sizes and use only the highest grade wool. You also want to make sure that the brush that you are using is safe for aluminum wheels. You don’t want any further damages to add to your repair list.
- Microfiber Cloth – For every car project, a good microfiber cloth, such as options from The Rag Company, is an important item to have on hand. A microfiber cloth has the ability to deliver a scratch-free finish and is more durable than a traditional shop towel.
How to Sand Aluminum Rims (Step by Step)
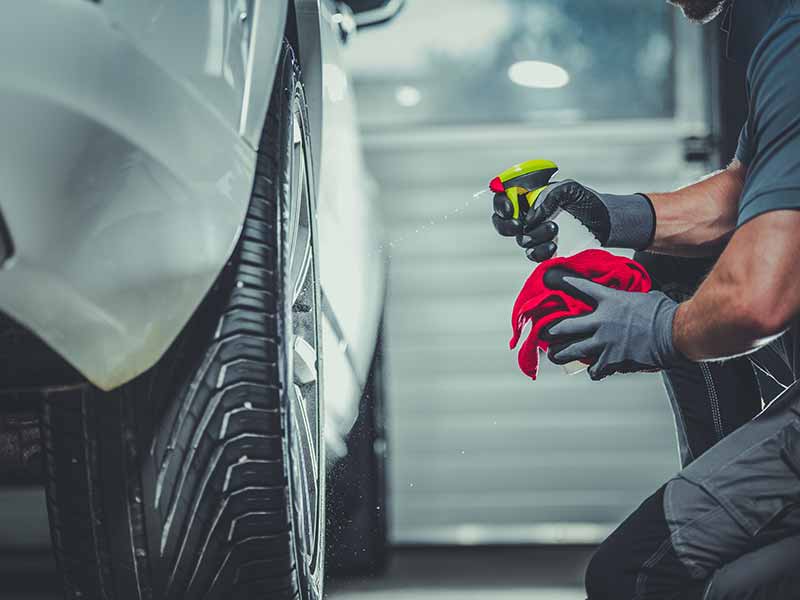
- Wash the Rims – Make sure that the surface that you are working on is clean and free of any dirt, dust, and debris. You can achieve this by using a wheel cleaner. This is essential in order to get a good, even sand. This is also needed to be able to clearly assess the area prior to sanding in order to avoid over or under sanding. Use a stiff-bristled wheel brush to get a deeper clean which will only help you when it is time to begin sanding.
- Remove the Topcoat – Use a paint thinner and an abrasive pad to remove the clear coat that seals in the aluminum wheel shine. Make sure to get it all off.
- Clean Again – Clean the surface again in order to remove all of the debris that was left from the clear coat removal or that could have gotten in while you were scrubbing. This will prevent particles from getting in the way of sanding and assist in giving you a professionally finished product. Use a microfiber cloth to fully dry the area.
- Begin to Sand – Start with 400 grit sandpaper. The 400 grit sandpaper is a coarse grain and will concentrate on all the major blemishes and problem areas such as deeper scrapes and stains.
- Clean the Area – Wipe the surface with a clean microfiber cloth and some denatured alcohol to do a quick cleaning.
- Wet Sand – Use increasingly fine-grit sandpaper (600, 800, then 1000 grit) to continue wet sanding down the area. The wet sanding process will limit the amount of dust that is flying around and make it easier to gauge the amount of sanding that needs to occur.
- Clean and Dry the Area – Use a wheel cleaner to remove all of the remaining dust particles and debris left by the sandpaper in order to prepare the area for adding shine back into the rim. Dry the area completely with a microfiber cloth.
Polishing Aluminum Wheels
The step by step polishing of aluminum wheels will put the mirrored shine back into an otherwise dull surface. By putting the polish on the wheel, you will get a professional and new appearance to your old aluminum rims.
You will need:
- A Mask and Eye Protection – Safety first! Always wear a mask and eye protection when working with chemicals. Chemicals and debris in your eye could cause permanent damage. A mask will prevent you from inhaling all of the toxins surrounding your workspace so you can focus on the job at hand and not on breathing clean air.
- Wheel Cleaner – Wheel Cleaner is needed in order to provide a clean surface to work on and to remove all of the caked-on grime. The Sonax Wheel Cleaner Plus is a good option for people who have heavy dirt spots on the wheel’s surface. This cleaner is acid-free and environmentally friendly which is a great feature to have on anything that will be used outdoors.
- Wheel Brush – A wheel brush such as one from the Chemical Guys would be a great option to clean your wheels as they offer a variety of different sizes and use only the highest grade wool. You also want to make sure that the brush that you are using is safe for aluminum wheels. You don’t want any further damage to add to your repair list.
- Dual Action Polisher – Having a good polisher can greatly impact the quality of your results and turn a mediocre job into one of professional quality. I recommend the PORTER-CABLE Random Orbit Sander for a smooth and swirl-free polish job. This polisher is compact and ideal for polishing automotive wheels. This will make your polishing project go a lot quicker and be more effective.
- Polishing Pads – The polishing pads by the Chemical Guys are an amazing go-to for any polish job. These pads are made with a specifically engineered hexagonal design to maximize surface contact but also disperse heat and reduce normal wear and tear. These pads are durable and easy to clean for multiple uses. You will need the three types of pads that come in this kit, one is for cutting away swirls and scratches, one to restore gloss and shine, and one to add a perfect finish your project.
- Polishing Compounds – The best polishing compounds are from the Chemical Guys. This line of products is specifically engineered for a scratch-free surface which will help your polish last longer. These polishes are made without silicones or fillers, only providing you with the best product. Three products from this line are mentioned in the DIY including a heavy-duty compound, a cutting compound, and a final polish. This system will ensure that you are getting the best finish possible.
- Microfiber Cloth – For a car polishing project, a good microfiber cloth, such as options from The Rag Company, is an important item to have readily available. A microfiber cloth has the ability to deliver a scratch-free finish and is more durable than a traditional shop towel.
How to Polish Aluminum Rims (Step by Step)
- Wash Surface – If you sanded your wheels prior to this, then your wheels should be clean! The sanding process should end with a cleaning of the surface. If you have not cleaned yet, use a wheel cleaner to remove any of the sanding residue and particles of remaining brake dust. Use a wheel brush to get a deep clean and allow your polish to go on bubble-free. Also, make sure that your wheel is dry due to the cleaner can leave spots on the wheel which will then be locked in by the polish.
- Start Polishing – Use a Dual Action Polisher to tackle the scratches and problem areas from the previous sand. Using a polisher for aluminum finishes can take a lot of the time and effort out of the project, which is nice when repairing alloy wheels.
- Take your polisher and attach a medium-heavy cutting pad. Apply a heavy-duty compound to the wheel and then use the polisher to smooth and spread the polish around the wheel. This compound will remove the deeper imperfections and set a good base for further refinement. Gradually speed up the RPMs until the polish dries or diminishes. Use a clean microfiber cloth to wipe the wheel dry.
- Remove the pad and swap it for a Light-Medium pad. Apply a cutting compound to the wheel and then use the polisher to smooth and spread the polish around the wheel. This compound will remove the moderate blemishes and get the surface ready for final detailing. Gradually speed up the RPMs until the polish dries or diminishes. Use a clean cloth to wipe the wheel dry.
- Remove the pad and swap it for a Finishing pad. Apply a final polish compound to the wheel and then use the polisher to smooth and spread the polish around the wheel. This compound will complete the area to perfection and restore the mirror-like appearance. Gradually speed up the RPMs until the polish dries or diminishes. Use a clean cloth to wipe the wheel dry.
- Wax (optional) – If you are not satisfied with the results of the mirror finish on your aluminum wheel, you can apply wax. This will protect the aluminum, prevent oxidation, and extend the time between cleanings.
Why would my aluminum wheels need to be sanded and polished?
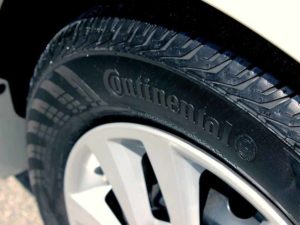
Aluminum wheels tend to need more maintenance than other wheel finishes. The oxidized aluminum can add a dull white finish to otherwise mirrored wheels and brake dust can add a black soot look to the shiny surface. Wheels tend to be a focal point on most vehicles, especially when you are on the road.
Without a good finish, your car will be noticed less and give off a dirtier vibe than it actually is. Aluminum wheels are often more expensive than a typical metal wheel which should be a great incentive to take care of them. By following this simple DIY sanding and polishing technique, your wheels will have a mirrored finish that could have been done by a professional.
Can brake dust actually damage my aluminum rims?
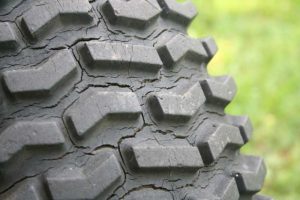
Yes! Brake dust can and will damage your rims if you don’t stay on top of the cleaning and maintenance process. Brake dust is a combination of adhesive, carbon fibers, and metal shavings. Once you combine these components with the heat of your wheels–brake dust becomes highly corrosive. This will long term ruin your wheels and lead you to have to get a new set of rims.
How much would a repair cost?
If you were to take your vehicle into a garage or professional body shop, you would spend anywhere from $75-200 per tire. This can be done a lot cheaper at home with materials that you may already have in your garage. A little time and patience can go a long way to save you money and the trouble of being without your car for a little while.
Helpful Links
Conclusion
Aluminum wheels are wonderful to have but can be hard to keep looking nice due to their unique finish. As a car owner, it’s understandable that you want to keep your car in tip-top shape and condition.
By adding this to your maintenance rotation, you will create rims that everyone will be envious of. Your car will thank you for accomplishing this cost-effective and easy DIY repair.