Table of Contents
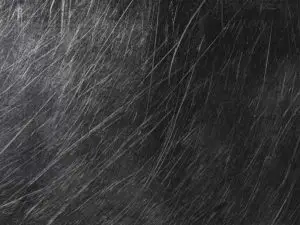
You just finished polishing your car with a buffer and you notice that something’s a little off. Why does your car have tiny, circular scratches all over the place? No, this isn’t an optical illusion. You’re experiencing car paint holograms.
We’ll teach you all about car paint holograms in this article. More importantly, we’ll teach you how to remove them and some tips to avoid them in the future. Let’s get started with a definition.
What Are Car Paint Holograms?
Car paint holograms are fine scratches created by improper use of a buffer or polisher.
The scratches are created in a circular pattern and this pattern creates a visual effect similar to printed holograms when viewed in bright sunlight.
What Is a Car Paint Hologram?
Also called buffer trails or buffer swirls, car paint holograms are an eyesore. From far away, they make your car look muted and dull, but it gets worse as you get closer. Under the light, you’ll see a number of thin, swirling scratches along your paint.
Some people mistake holograms for streaks, but the difference is whether or not there are tiny swirls on the paint.
The swirls are typically too shallow to feel with even your fingernail, but they are still considered scratches in your topcoat.
Another hint that it’s a hologram and not a streak is when the phenomenon occurs. If you notice it after handwashing your car, it’s probably just streaks. In this case, you’ll just need to rewash your car and hand dry it with a microfiber towel after.
If you notice this after using an orbital or dual-action polisher, then it’s definitely a hologram.
Holograms only occur after someone improperly uses a buffer on your car. That’s why all the lines are circular, super thin, and very shallow.
These holograms have an oddly three-dimensional look if you check out your car in direct sunlight. Of course, that’s because the scratches are going into your topcoat and the defects are three-dimensional to begin with.
 1")
 2")
 3")
The Cause of Car Paint Holograms
Despite the name, a car paint hologram has nothing to do with your car’s paint. Everything happens within the clear layer of lacquer, called the topcoat.
The topcoat is there to preserve your car’s body, prevent oxidation, and protect your paint. Without a topcoat, a hologram would be much more dangerous and would probably lead to rust.
Holograms are caused when something mechanically scrapes against the topcoat during the buffing process. These are legitimate scratches and can’t be simply wiped away with a towel.
It’s very common for a beginner detailer to cause holograms on their car when they’re first starting out. It can be due to improper technique, too much pressure, using the wrong pad, choosing the wrong agent, or failure to maintain or clean a pad before using it.
At the end of the day, it’s not a big deal. Our step-by-step guide in the next section will completely remove these holograms, so there’s no need to be upset or embarrassed — plenty of professional and highly-skilled detailers caused holograms when they first started out.
How to Remove Car Paint Holograms
As promised, here’s our step-by-step guide to completely remove holograms from your car’s paint.
Products Needed
The process is pretty simple, and you don’t need a ton. Before getting started, make sure you have the following:
- Dual-action polisher
- Isopropyl alcohol wipes
- Car washing products (soap, microfiber towel, source of water)
- Applicator sponge
- Yellow cutting pad
- White or green polishing pad
- Black finishing pad
- Polishing solution
- Abrasive cutting solution
- Waxing solution
- Sealant solution
 4")
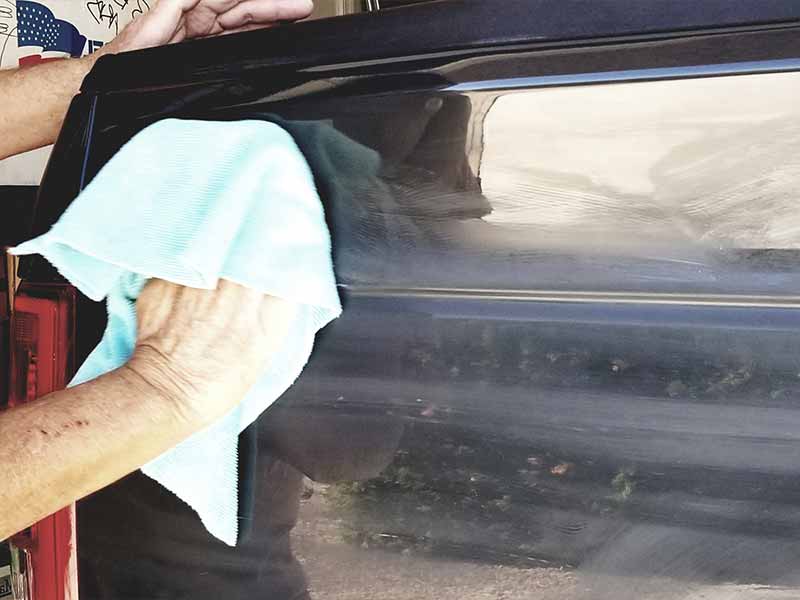
Step 1: Wash Your Car
It all starts with a traditional carwash. This will ensure that no dust or dirt is in the way. Using a polisher on a dirty car can actually lead to even more scratches, so be careful.
Use soap, a nice microfiber towel, and a clean source of water to fully wash your car. After washing it, use another microfiber towel to completely dry it. Some of the solutions used in following steps don’t mix well with water, and it’s always a good idea to dry your car after washing it anyway.
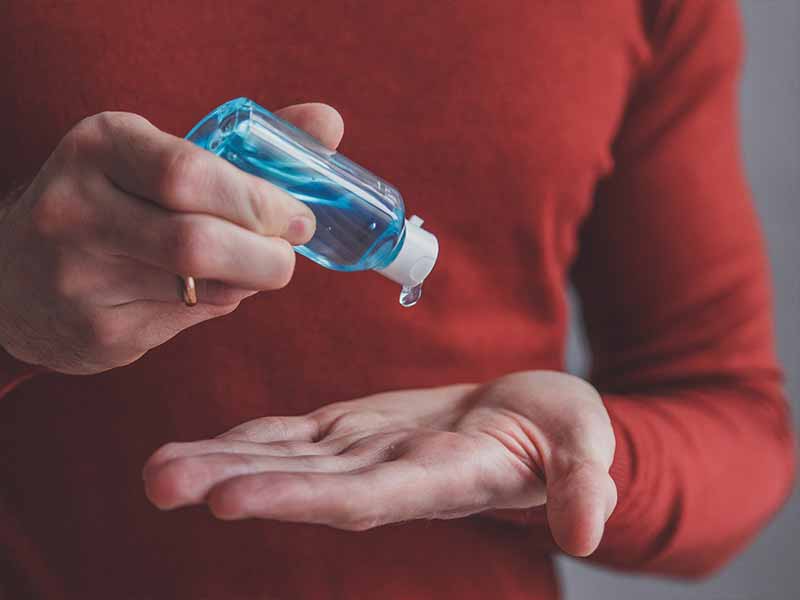
Step 2: Apply Isopropyl Alcohol
This step can be skipped, but we would highly suggest it. You should wipe down the entirety of the hologram area with an isopropyl alcohol wipe.
This will remove any additional contaminants and fully expose the swirls on your car.
In certain cases, a little bit of wax or polish can be hiding a section of swirls. Even after washing, there’s a chance that these swirls go undetected until later down the road.
You can also apply it directly from a bottle, but it’s typically safer to just use prepackaged wipes. The alcohol will dry almost immediately, so there’s no need to wipe it dry after.
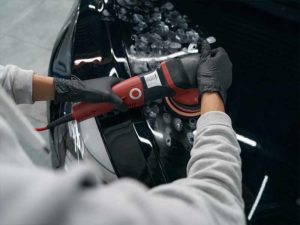
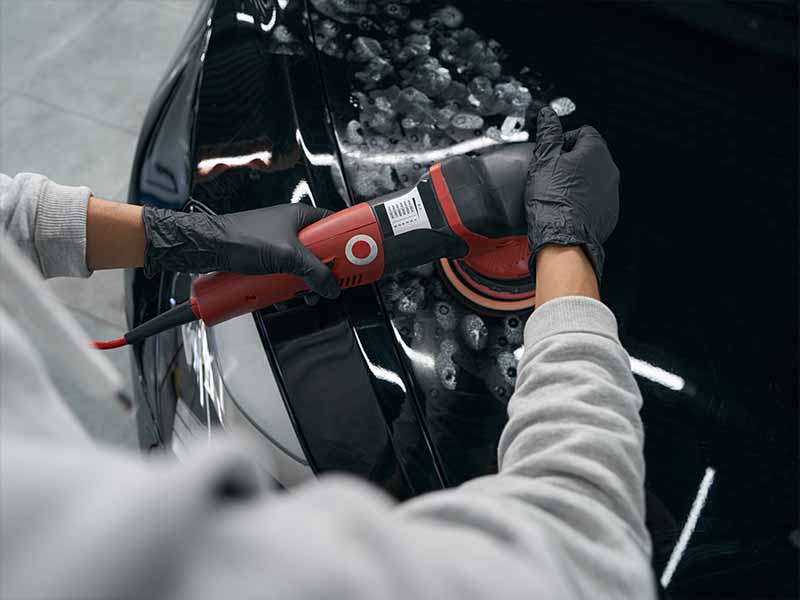
Step 3: Use a Cutting Pad
Now it’s time to grab your polisher. We would suggest using a dual-action polisher since it’s more user-friendly for beginners.
You’ll want to use a yellow cutting pad for this step. Before attaching it, take a second to ensure the pad is fully cleaned and has no damage to the surface. If you notice cracks in the foam or the pad is too thin, throw it away and replace it with another pad.
Set your machine to the highest speed setting and attach the cutting pad to the head of your polisher.
Use our dual-action buffer guide if you aren’t comfortable with the tool. It’s important to use the tool correctly, or else you’ll wind up with more holograms after the fact.
Apply the cutting solution to the pad. Add medium pressure by hand, and let the machine do the heavy lifting. Polish in an up-and-down pattern to get the best results.
You might have to do a few passes with this tool, reapplying product each time.
The end result won’t be smooth and swirl-free (hence the following steps).
Step 4: Polish Away the Swirls
With a white or green polishing pad and polishing solution, you’re ready for this step. Put the pad on the tool and set it to a speed of 4,000 to 5,000 OPM (oscillations per minute).
Apply the agent to your car slowly, following the same tips from the previous step. In this step, you should start seeing results and the swirls should disappear.
You might think that your car is good to go now, but you should do some steps to further protect your car.
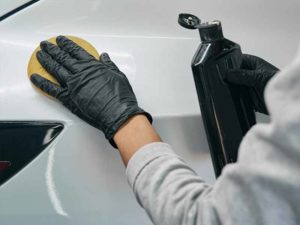
Step 5: Apply a Finisher
A finishing pad is used to apply a waxing agent and give your car a really nice shine. In this case, it’s another step to fully remove any remaining holograms.
Grab your waxing solution and black finishing pad for this step. Set your dual-action polisher to 3,000-4,000 OPM and work your way around the car slowly.
Step 6: Add a Layer of Protection
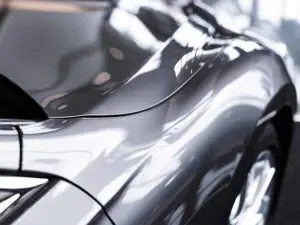
Finally, you’ll want to seal your car. At this point, you’ll be completely hologram-free, and your car will have a nice shine from the wax you just applied.
Grab an applicator sponge and sealant agent. Apply a generous amount of agent to the sponge and use back-and-forth motions to apply it to your vehicle. We suggest applying this by hand, so you don’t inadvertently remove the wax applied in step 5 when you use a dual-action polisher.
Allow the product to fully dry before taking your car for a spin.
Prevent Car Paint Holograms in the Future
Removing holograms can be a tedious process. It’s always best to avoid them altogether. Here are some pro tips to completely avoid car paint holograms in the future.
Use the Right Pad
It all starts with the right pad. Going for an inexpensive or off-brand might lead to more holograms in the future.
A high-quality pad will work wonders, even though they’re a little more expensive.
Check Your Speed Setting
Going too fast is a quick way to scratch up your car. Be mindful of your speed settings and always double-check them before you start buffing your car.
Higher speeds result in more cutting, so keep that in mind.
Apply Less Pressure
Another common issue is applying too much pressure. Your buffer will do most of the work for you. You’ll only need about 4 or 5 pounds of constant pressure to get the best results. Pushing harder won’t do anything but damage your topcoat.
Clean or Replace Your Pad
Pads should be cleaned after every use. Microfiber or foam pads might need to be cleaned multiple times in a single polish.
Once you notice damage, a pad that’s too thin, or cracks, you’ll need to replace your pad and throw out the old one. The same is true if you can’t fully clean a pad.
Work Slower Next Time
Detailing requires a lot of patience. It’s a good idea to take your time and work slower in order to get the best polish on your car. Rushing a job can easily result in scratches and serious damage to your car.
When in doubt, slow it down. This is also true about your buffer’s speed setting as we discussed earlier.
Avoid Inexpensive Drive-Thru Carwashes
When a carwash is very inexpensive, there’s usually a good reason for it. Saving money on the wash can very easily result in swirls and holograms.
If the carwash doesn’t properly maintain their components or has the wrong speed setting, your topcoat will get scratched up.
This is much more common in cheaper carwashes that prioritize speed.
Use More Polishing Agent
Another culprit that can lead to holograms is how much polishing agent you’re using. If you allow your pad to be too dry, then your car can get scratched. It’s usually a good idea to apply more solution and be liberal with it.
The worst thing that can happen from having too much compound on your pad is “slinging”. This is when product is flung away from the pad while the machine is running It’s not a big deal when this happens, it just means you need to clean up more afterward.
Helpful Links
Conclusion
Hopefully at this point your car is completely hologram-free. While it might just look like streaks, car paint holograms are surface-level scratches that tarnish your car’s topcoat and can ruin the curb appeal of your car.
For more DIY detailing guides, be sure to check out the rest of our site.