Table of Contents
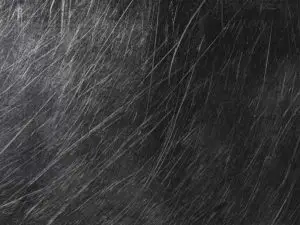
Deep chips and scratches, usually on a car door, are extremely annoying. Light scratches can be easily resolved with some polishing but a deep scratch isn’t quite as simple.
Aside from being unsightly, a deep scratch often exposes the metal beneath the paint which can allow it to oxidize and rust.
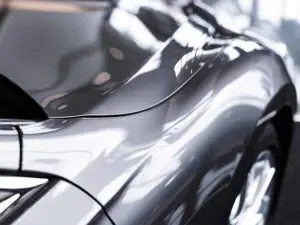
Fixing a deep scratch won’t just make the problem look better but it will protect the bare metal beneath.
While there are multiple steps to fix a deep scratch, it isn’t hard to do. The best thing to remember though is to be patient when working and focus on doing the best you can on each step.
How To Fix Deep Scratches On A Car Door
- Prepare the scratch by thoroughly cleaning the scratched area with a degreaser.
- Use a sanding pen to clean out the scratch from rust, loose paint, and any metal burrs.
- Apply touch-up primer to the bare metal in the scratch and allow to dry.
- Apply a layer of color-matched touch-up paint on top of the touch-up and the less deep areas of the scratch and allow to dry.
- Apply a touch-up clear coat over the dried color-matched touch-up paint and allow it to dry.
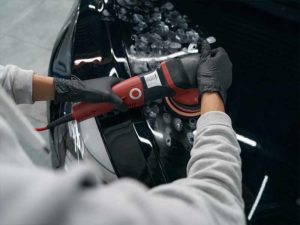
- Use a polish kit to polish the area and blend the fix in with the surrounding paint.
Also, you shouldn’t expect a fix that will make the chip or scratch invisible. The goal to these types of fixes is to protect the metal and significantly improve the look but when you get up close it will likely still be noticeable.
If you want to get as close to the original finish as possible you’ll need to go with repainting the section that was damaged. This isn’t going to be cheap and depending on the location, size, and paint color, it will have varying results.
Some colors like white and black are fairly easy to blend in fresh paint. Metallics are usually far more difficult to match and blend.
Let’s go through the steps involved with fixing a deep scratch.
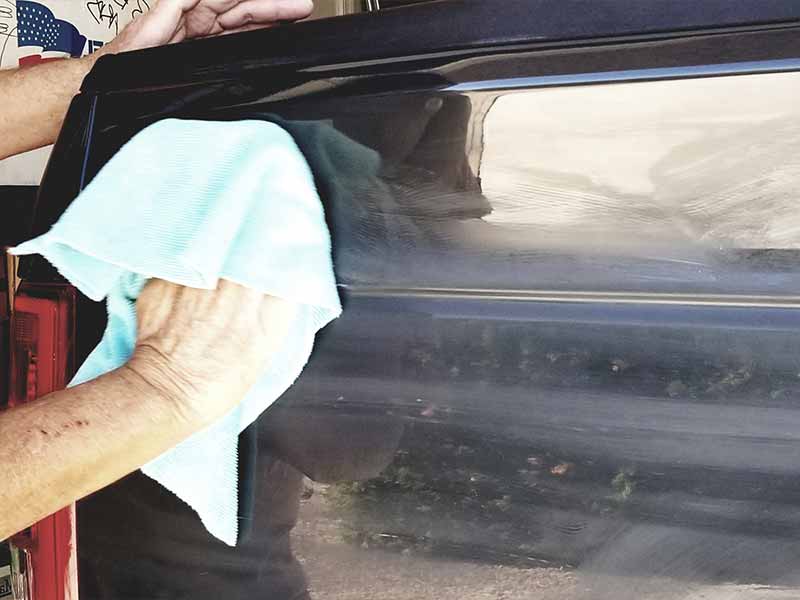
Step 1: Prepare the scratch or chip
Before you begin you’ll need to thoroughly clean the area that you’ll be working on. What you want to do is use a quality degreaser and wax remover to not just clean out the scratch itself but to also prep the surrounding paint. A simple prep solution like Citrol 266 should do a great job.
You may also need to sand down inside the scratch or chip. Sandpaper isn’t very well suited for getting down into the scratch or chip very well.
The ideal tool for this job is a sanding pen. It has a fine tip with a sandpaper like surface that is perfect for cleaning out this tiny area. It will allow you to remove loose paint, burrs, and even rust.

Step 2: Filling the scratch or chip
When dealing with a deep scratch we can assume that the scratch has gone through the clear coat, paint, and primer to expose bare metal. This means that you’ll want to replace each of these layers. You’ll need touch up primer, color-matched touch up paint, and touch up clear coat. To get color-matched paint for your car or truck the best bet is to go to your local car dealership’s parts department and order touch up paint specific to your make, model, and color car or truck.
Gently dab with a fine brush and the touch up primer into the cleaned scratch or chip. you’re just trying to give it a good coating. It shouldn’t completely fill the gap made by the scratch. You only should apply primer to the exposed metal, not the entire scratch.
Once the touch up primer has dried you’ll repeat the process with the color-matched touch up paint. Ideally this will come close to filling the scratch. You may need to build up a couple layers of paint to help it fill the gap more. The smoother you can apply it the better. Remember, if you want a perfect repair you’ll need to have an auto body shop repaint the area. We’re trying to protect the metal and get the problem area less noticeable.
Last you will need to apply some touch up clear coat. Applying a layer of clear coat will help the color match the rest of the car much better. Without clear coat the color will be slightly different and stand out much more than when coated with a layer of clear over top.
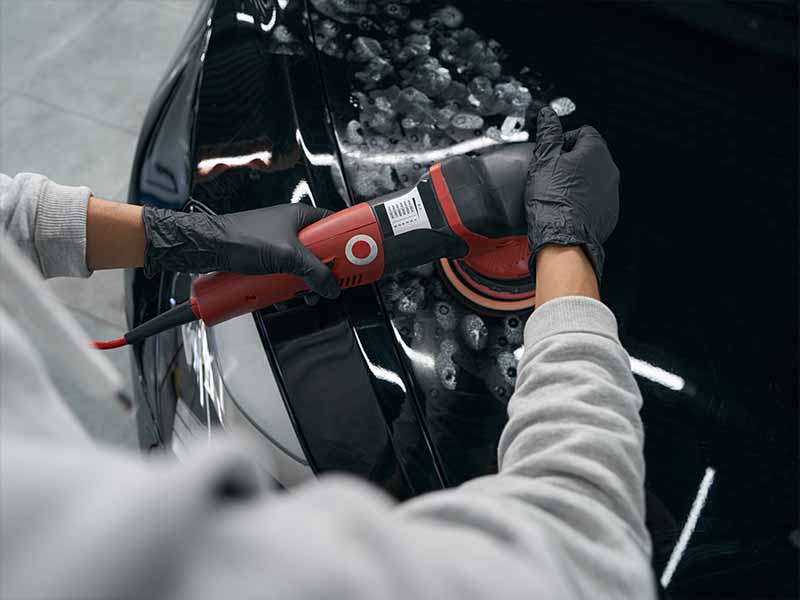
Step 3: Sand and polish the filled scratch or chip
Assuming you’re dealing with a fairly small scratch or chip, the 3M Scratch & Scuff Removal Kit is an inexpensive kit that includes everything you need to blend in the filled scratch and polish the clear coat you applied so that it properly matches the rest of the vehicle’s paint.
With this kit you can simply follow the steps included for removing light scratches. The kit includes some super fine sandpapers and polishing compounds that will allow you to progressively smooth out and polish the scratch or chip.
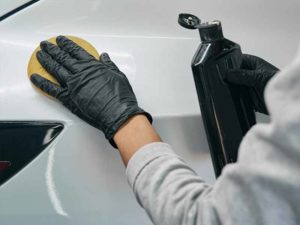
Step 4: Finishing up the repair
The process should now more or less be complete for the repair portion of this process. You’ll still need to protect the finish in the area that you used the grease and wax remover that was used to prep the area. You may want to wash your entire car and reapply the wax or sealant that you’d previously used on your car or truck.
Additional Information
Will this process work for fixing a keyed car?
It can but it depends on the severity of the gouge and your expectations for how well it will be fixed. This process is most effective at correcting small blemishes that are deep. Door dings, short scratches, and chips are better candidates. If the scratch isn’t deep you may be able to polish it out with the 3M Scratch & Scuff Removal Kit.
Is this the best way to fix all scratches in my paint?
No. Many scratches are very light and can easily be polished out. You can use a polishing compound and orbital polisher or you can use the polishing compound and a hand applicator to polish it out by hand. There are also many different ways to fix deep scratches or chips. The best looking solution is always going to be repainting the area which is obviously going to be quite expensive – at least hundreds of dollars.
Helpful Links
Conclusion
Deep scratches and chips are unfortunately and can require quite a bit of effort to fix well.
The good news is that it isn’t all that hard to do but it does take time. The many layers required to fill the scratch can take quite a while since you’ll need to wait for each layer to dry before you can apply the next one.
The most daunting part is typically the sanding and polishing done near the end of the process. You’re working on a small area and you likely aren’t going to be making things look worse than when you began but it’s unlikely that you’ll do this step so poorly that it looks bad.
The 3M Scratch & Scuff Removal Kit is ideal for those that are a little uncomfortable with this step. It gives you everything you need and clear instructions on how to sand and polish with excellent results.