Table of Contents
Over time our cars and trucks will inevitably get small chips in the paint. Most of the time these come from rocks and debris that gets kicked up from the vehicles ahead of us.
Sometimes these chips are severe enough to expose bare metal. If not touched up immediately rust will begin to develop in these small spots.
Left exposed long enough and rust will begin to spread beneath the paint. It usually takes years for enough rust to build up to begin spreading beneath the paint but the sooner these spots are fixed the better.
Will Wiping Dust Off A Car Scratch It?
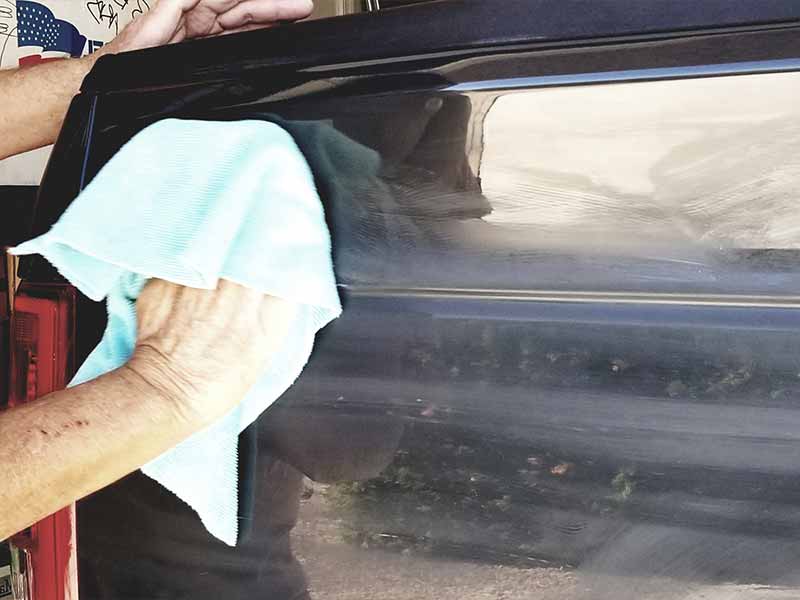
Yes, if not done properly, wiping dust off a car will cause fine swirl marks and scratches.
Many people use car dusters like the California Duster brand. These too can potentially cause scratching.
Quick detailer sprays are the safer method for removing dust without scratching. I also recommend ceramic coating your vehicle to help prevent scratches.
Rust not only spreads beneath the paint but also eats away at the thickness of the metal, weakening it at the spot of the impact. Once rust begins to spread or creates a hole in the metal it is much more difficult to resolve.
When there is simply a small chip with a tiny speck of rust the problem is very easy to fix.
In this article we’ll cover how to clean out and touch up these small blemishes of rust as well as what tools you’ll want to have on hand to make the job as easy to knock out and as effective as possible.
Clean the area
To begin, we’ll need to properly clean the area around the chip.
Washing your car before beginning a job like this is always a good idea.
It will remove the majority of road debris from the surface of your vehicle. We’ll need to go a step further though.
Around the spot that we’ll be working on you’ll want to clean it with rubbing alcohol.
This will remove more stubborn contaminants as well as any wax and most other paint protection that may have been applied previously.
The idea here is to remove anything that may get in the way when we touch up the spot later.
We don’t want anything to hinder the touch up paint’s ability to stick and protect over the long term.
Remove the rust
Next we need to get the rust out of there. The best tool for this job is a rust removal pen.
This inexpensive tool is designed specifically to sand small spots. It’s perfect for getting into rock chips to remove rust.
It uses strands of fiberglass bunched together as an abrasive. Using regular sandpaper would create a much larger problem to deal with.
Simply place the tip of the pen into the chip and sand away the rust. Do your best to only clean out the rust and not damage the surrounding paint.
This can be slightly challenging with particularly tiny chips.
Once the rust has been removed you will want to thoroughly brush out the chip to remove any dust that may be left that could prevent touch up paint from adhering well.
Disposable touch up brushes are great for this. Another pass with some rubbing alcohol may help remove dust as well.
Fiberglass Sanding Pen
Sanding Brush 4-Pack for Corrosion
Polishing Compound
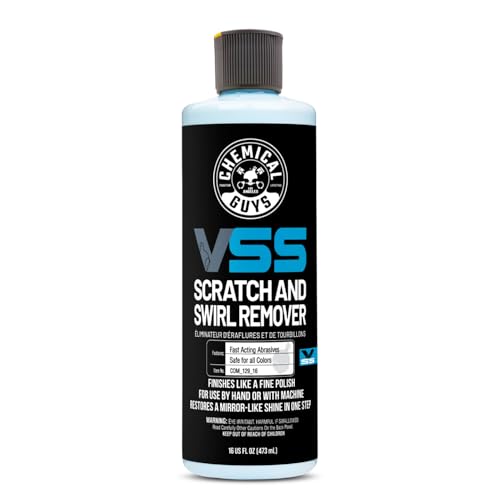
Chemical Guys Scratch & Swirl Remover
Hand Polishing Pads
Chemical Guys Hex-Logic Hand Applicator
Fiberglass Sanding Pen
Polishing Compound
Hand Polishing Pads
Sanding Brush 4-Pack for Corrosion
Chemical Guys Scratch & Swirl Remover
Chemical Guys Hex-Logic Hand Applicator
Touch up the spot
Now that the chip has been properly prepped it’s ready to be touched up. The best solution for touch up paint is to go to your local car dealer and purchase some exact match touch up paint.
Most car manufacturers make touch up paint for every color they offer and car dealers frequently keep the more common colors on hand in their parts department.
You will likely want to get some disposable touch up brushes to help with filling the chip.
Contrary to the name, you don’t want to actually brush back and forth. You’ll want to just dab a very small amount of paint into the chip and allow it to fill it.
You may need to repeat this process a couple of times, allowing the paint to dry in-between applications.
One application may leave you with a painted indention. It may require a couple of applications to properly fill the chip. One layer of touch up paint is enough to protect the chip but filling the chip will look better.
Depending on how picky you are you may want to wet sand the touch up paint to help it blend in.
If this is the case you’ll want to continue applying paint until it sits well above the original paint surface so there is enough material for you to sand down.
Optional - Wet sanding and polishing
If you’re attempting to hide the chip as much as possible you should consider wet sanding the touch up paint to level it out with the rest of the original paint.
To be clear, this fix isn’t going to likely come out unnoticeable but it will be far less noticeable if the touch up paint is smooth and flush with the original paint.
Touch up paint tends to dry with a slightly lumpy finish. Some places will be higher while others will be lower. These differences will make the fix stand out more.
Of course, it should be far less noticeable than if the chip had not been touched up at all. For many people, simply applying touch up paint will be adequate.
If you want to give wet sanding a try you’ll want to have a variety of different grit sandpapers. 1000, 1500, and 2000 should be more than adequate.
These are very fine sandpapers but should be aggressive enough to knock the touch up paint down.
You should start with 1000 and work your way up to 2000. Follow the instructions for how to use the sandpaper.
You’ll want to use a spray bottle to keep the spot wet while sanding. Be sure and check your sandpaper to ensure that it isn’t picking up paint that is getting trapped in the grain of the paper. This could cause scratching.
Of course, you should wait at least 24 hours between applying the touch up paint and attempting to wet sand it down. This should give it enough time to properly dry.
Wet sanding isn’t too difficult and the end result, no matter your skill level, should come out better than if you didn’t make an attempt to sand at all.
Once you’re satisfied with the results of your wet sanding you’ll want to give it a little polishing to finish the job off.
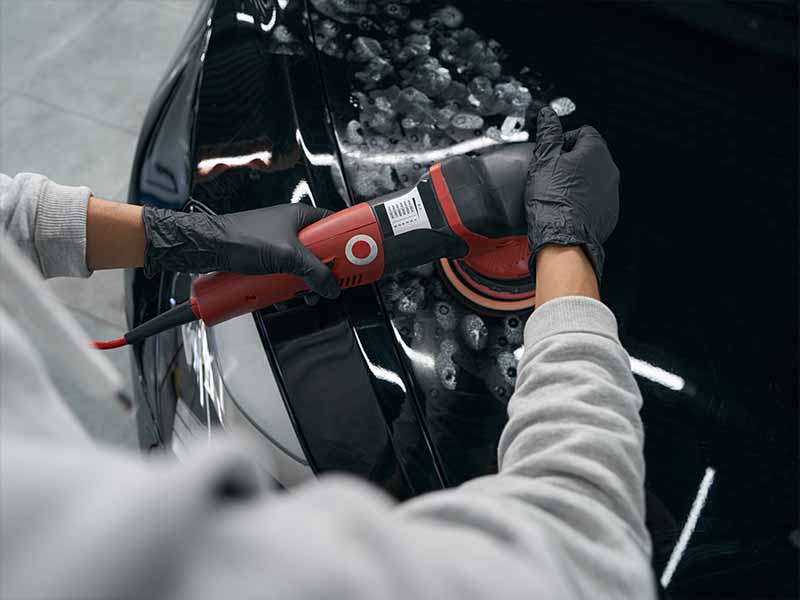
Polish is a very mild liquid abrasive that you can work by hand on a small spot like a chip. It may require a bit a force when hand polishing but using an orbital buffer would be overkill for a simple chip.
All you need for this step is a good quality polish and polishing pad. With a little elbow grease you should be able to get a very good result.
Apply paint protection
Protecting your hard work is a no brainer here.
Most people think of wax when they think of protecting their paint. Waxes typically only last a couple of months at best. If you haven’t applied a protective coating to your vehicle prior to fixing the chip then we suggest applying a paint sealant.
Wolfgang Deep Gloss Paint Sealant is our favorite since it can last up to 2 years and looks beautifully glossy.
If your vehicle already has a great layer of protection you may not need to redo your entire car or truck. You will need to re protect anywhere you used rubbing alcohol since it will strip wax and paint sealant off.
Helpful Links
Conclusion
Fixing a small rust spot isn’t difficult, even if you’re picky about how good it needs to look when finished.
While you shouldn’t expect perfection, you can get some excellent results that won’t be very noticeable until you’re very close to your car or truck.
The most important thing is to get the rust out of the spot.
The second most important thing is to protect the bare metal where the rust was.
If you aren’t terribly concerned with looks but just want to keep things from getting worse, the job is extremely simple. Just sand out the rust with a sanding pen and apply a little touch up paint over the rust spot.
If you want it to look as flawless as possible just build the layers of touch up paint up until they are above the original paint and then wet sand it down smooth and flush with the original paint.
Give it a final polish and you’re done. Which ever route you go we recommend applying a good paint protection to help keep your paint in tip top shape.
