Table of Contents
Do you have a paint scuff mark which you would like to remove from your car? Well, you are in the right place. This is something that happens to everyone at least once.
No matter how cautious you may be, it seems almost impossible to avoid having the accident that will leave you with scuff marks. Whether it is running into a pole or the garage door scratching the paint while trying to drive out.
How paint scuff transfers occur
- Primer: This is the layer that goes over the body panel of the vehicle
- Base Coat: This is the layer that is the actual color of the vehicle.
- Clear Coat: The clear coat is the coat that goes on top of the base and is meant to protect the base coat. It does not have a color. Some manufacturers apply multiple layers of the clear coat to give the car more protection. The clear coat is what gives your car that shiny look.
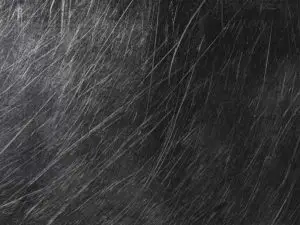
Paint scuffs usually occur as a result of the scratching or brushing of a vehicle against an object which is painted. The frictional force from the vehicle rubbing up against the painted object causes the paint to transfer from the painted object to the vehicle.
 1")
How to remove paint transfer
Let’s go over what’s required to remove paint transfer yourself. If you’ve ever tried to remove a scratch from a car, the process is the same, except there are many scratches in a group.
If the scratches are deeper than the clear coat layer you’re going to need to consider repainting the area. This is because you’ll need to compound through the clear coating and into the paint layer. Although, you may be able to repair the clear layer with an aerosol clear coating.
If you compound through the paint layer and into the primer or down to bare metal you will need to plan to repaint the area. Removing paint that much is getting beyond typical DIY territory.
This article is going to focus on paint transfer that has not scratched beyond the clear layer. Fortunately, most paint scuff marks fall into this category, but if you are trading paint in auto racing, you probably won’t successfully address paint scuffs.
What is needed to remove paint transfer
Paint Touch Up Kit
PaintScratch.com is my goto source for touch-up paint. Depending on how deep your scratch is you may need to have touch-up paint.
If it is just a surface scratch and only in the clear coat then you can pass on the touch-up paint.
While a lot of paint transfer is only in the clear protective paint layer, an individual scratch or two can go deeper into the base paint color, and having touch-up on hand to deal with it is ideal.
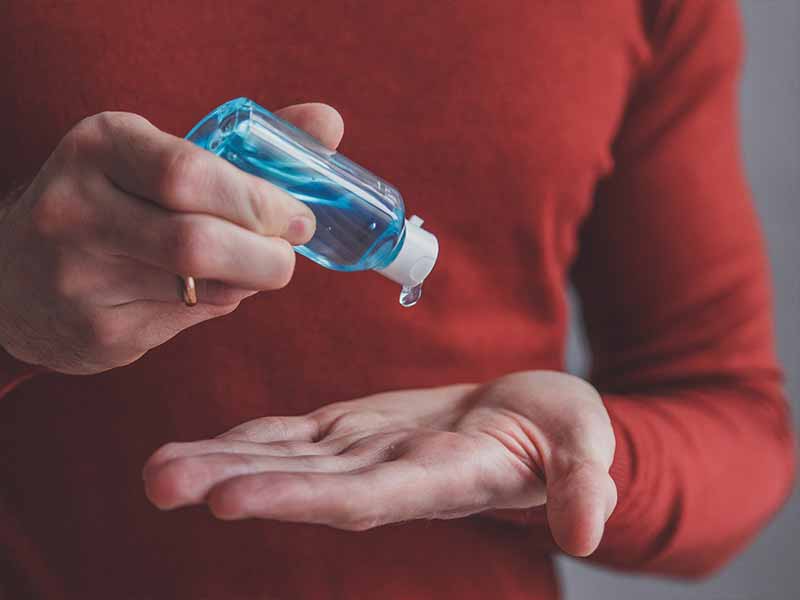
Goof Off
This powerful cleaner will remove the transferred paint embedded in your paint scuff. Don’t use this on cars built previous to 1990 as there is a high likelihood that the paint doesn’t have a clear layer and is just a base paint on top of the primer.
Apply a little to a rag and wipe it on the affected areas. Don’t allow it to dwell long as it can soften the clear more than you would like.
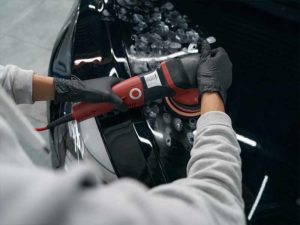
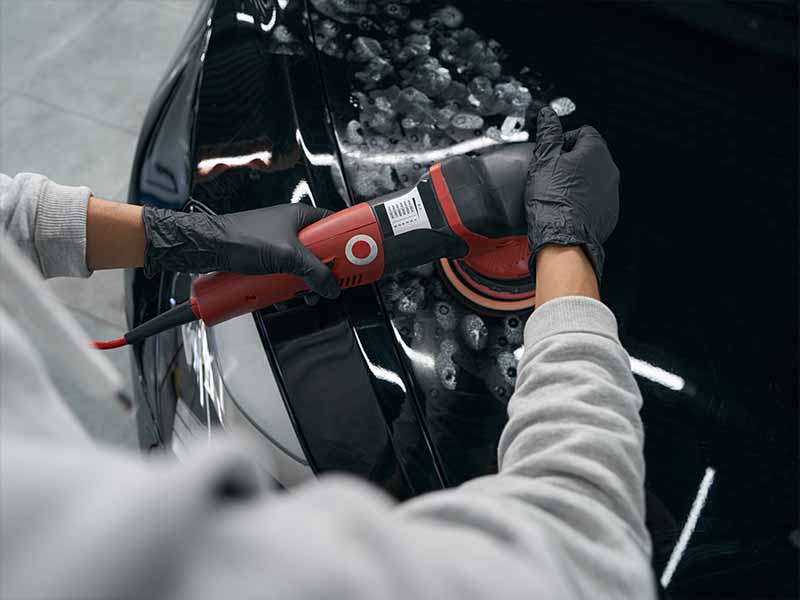
Dual Action Polisher
A quality DA polisher is what you’ll need after sanding. Dual-action polishers make short work of compounding and polishing.
Quality DA polishers are great because most of them will stop spinning if too much pressure is applied. This makes them very easy to use for a beginner. If too much pressure is applied to the surface, the polisher could burn through the different paint layers more quickly than you expect. Quality DA polishers are the only way to go for this reason.
Polishes
Polishes are just less aggressive compounds. They’re ideal to use for removing fine scratches on the surface of your clear coat and giving your paintwork that final touch.
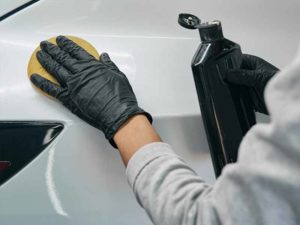
Polishing Pads
Polishing pads are foam pads that you use with your dual-action polisher. They are available in different firmnesses to give you even more control over the aggressiveness of the compound or polish you’re using. Firm pads are more aggressive and soft pads are more forgiving.
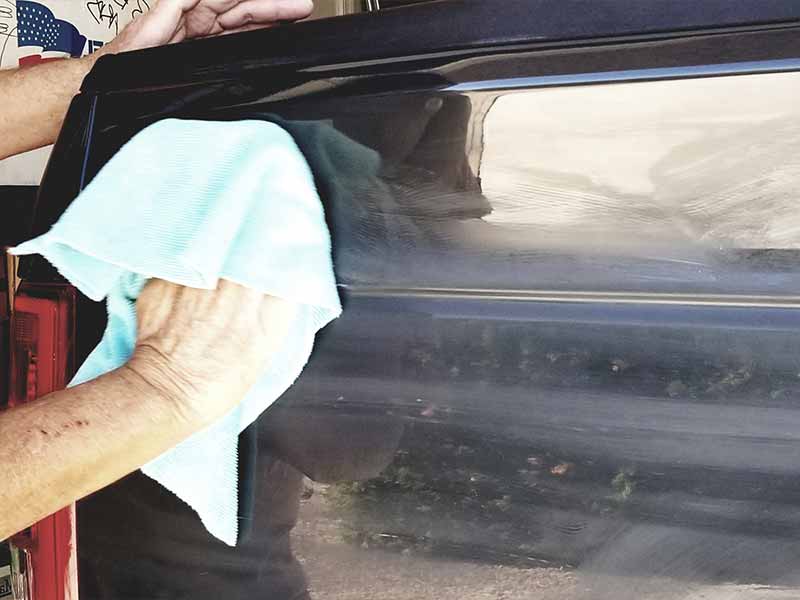
Microfiber Cloth
A microfiber towel is an essential tool for most detailing tasks and fixing a little paint transfer is no different. They’re fairly inexpensive and very good at trapping dirt and absorbing moisture.
Steps To Follow To Remove Paint Transfer
Always follow the instructions that come with any of the products you’re using. That said, the following is a general guide for what you’ll need to do to successfully address paint scuffs.
Before you begin, be sure and thoroughly wash and clean the scuffed area completely.
Step 1 – Goof Off
Goof Off is a powerful solvent that is gentle enough to not do damage to the surface of your original paintwork if it isn’t left on too long.
Put a little on a throwaway microfiber rag to dab and wipe away the transferred paint. You may even need to do a little scrubbing to make sure you remove any paint deep in a scratch.
Remember that you need to get the Goof Off off the paintwork fairly quickly so once you get things looking good in a spot you were just working on wipe it well with another microfiber rag.
Step 2 – Compound
Now that the paint that was transferred onto your car or truck has been removed, we need to remove the scratches. Using a good dual action polisher, add a bit of rubbing compound to your polishing pad and begin compounding the surface of the affected areas.
The compound is a mild abrasive and will smooth out the scratches in the clear layer. If a scratch is down into the base paint layer it’s best not to attempt to polish down into those scratches. If you only have a deep scratch or two you’ll want to come back at the end and use a touch-up paint kit to fix those areas.
Step 3 – Polish
After you’re done compounding and happy with how well you’ve addressed the scratches you’ll want to polish the area to a high shine. Using your DA polisher again, apply some polish to a clean polishing pad and polish the affected area until you’re satisfied with the results.
Remember, the polish is like a compound and is an abrasive. Don’t overdo it and wear through the clear coating. Be gentle and let the tool do the work so you don’t remove too much clear.
Step 4 – Touch up
Depending on the severity of the scratches you may need to do a little touching up. Follow the directions supplied with your touchup kit of choice. PaintScratch.com is a great resource for excellent quality touchup kits.
Using toothpaste to remove paint transfer scuffs?
Some people around the web talk about using something like whitening toothpaste on car scuff marks. I can’t in good conscience recommend anyone use this method to get scratches removed from car paint, but I’ll describe it anyway.
Essentially this is just using toothpaste as a compound. It’s probably the cheapest option for removing car scratches. Toothpaste is mildly abrasive and this makes it capable of removing paint transfer scuffs. You’d put some on a microfiber towel and use it to polish the scuff marks and hopefully remove the paint transfer in the process.
That said, don’t waste your time. Make sure you use your time wisely and do things properly so you’ll get the results you’re looking for.
While you might be able to remove the paint transfer or get the scuff marks on your car looking better, but you’ll work harder than if you did the job right the first time with the proper tools.
Trying to polish car scuff marks by hand is very difficult. Get yourself a good DA polisher and your arms will thank you.
Helpful Links
Conclusion
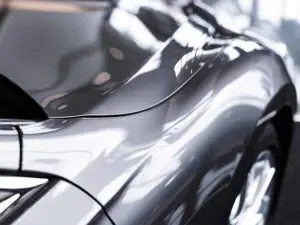
Most car scuffs do not go beyond the clear coat which is why with the right products you can fix it yourself.
This will definitely help to save costs. However, if the damage is down to the base coat, you are most likely going to need a professional to do the repair for you.