Table of Contents
Pinstripes were a trend back in an earlier time and have no other purpose other than pure aesthetic value. If you don’t like the trend, you’re not alone–many car owners see them as flashy and only for a specific style.
On modern cars, pinstripes are often no more than an inexpensive way for a car dealer to mark up the cost of a car or truck a few hundred dollars. A couple bucks of vinyl tape and 15 minutes of time is all it takes to add them on the dealer lot.
In this article, I will share with you the best way to go about removing pinstriping off of your car, vinyl, or painted on, without damaging or scratching the paint.
How to remove pinstripes on your car (Vinyl Method)
What you will need:
- Heat Source – You will need a heat source to soften up the vinyl in order to make it easier to remove and more time effective. If you decide to do this project on a summer day, then this is easy for you! Park your car out in direct sunlight for about 30 minutes before you start the removal job. If it’s a cloudy day or in the middle of winter, it’s not a problem, just get out a heat gun or the family hair dryer and blast some heat onto the affected area with the pinstripes. Using heat makes the process much easier than if you tried to accomplish it without and also saves your paint from unnecessary roughness. Make sure to use safety precautions while using heat.
- Plastic Razor Blade – You need to use a plastic razor blade or an old credit card. Anything with a thin edge that can get under the vinyl to assist with removing. Make sure that you don’t use anything sharp on your car (such as a real metal razor blade) regardless of what you are removing as it can damage the paint and leave scratches or other imperfections in the car’s surface.
- Goo Gone – Goo Gone or another adhesive remover, is a very important part of the removing pinstripe process as it will take away any adhesive residue that has been left on the paint after the pinstripes have been removed from the vehicle. Depending on the pinstripes and the condition of the car, there might be a lot of extra residues and an adhesive remover can clean it right up, flawlessly.
- Wax – You will need a wax in order to touch up the affected area that needs some extra love after the pinstripes are removed. I recommend the Wolfgang Concours Series Deep Gloss because it lasts longer than any other product that I’ve used and gives a finishing result that is comparable to that of a professional body shop. No matter the type of wax that you select, make sure it is from a reliable brand and a good quality in order to avoid any mishaps when finishing your pinstripes car removal.
Vinyl Pinstripe Removal (step by step)
- Apply Heat – Choose a side that you wish to start peeling from and apply the heat from the hair dryer or heat gun directly to that area. Do not use the heat in one place for too long, but rather do sweeping motions over the pinstripes to start removal without damaging your car’s paint. You should use the heat gun until you can feel the vinyl softening.
- Start to Peel – Use an old credit card or a similar tool and get under the edge of the vinyl. This should start your peel and you should keep peeling until you hit a spot that becomes stubborn. When this occurs, feel free to hit that area with the heat gun until the area starts to loosen again and then resume the peeling process.
- Remove Residue – Once the vinyl is completely removed, remove the left behind adhesive residue with goo gone! The leftover adhesive will appear to melt away and leave you with a smooth finish without damaging the surface.
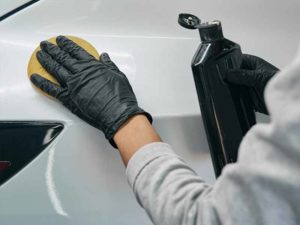
- Final Touch Ups – Once that unwanted pinstripe is removed for good, take some wax and show that area some love. This will allow the newly revealed area under the pinstripes to blend into the surrounding paint and create a seamless finish.
How to remove pinstripes on your car (Stubborn Vinyl Method)
What you will need:
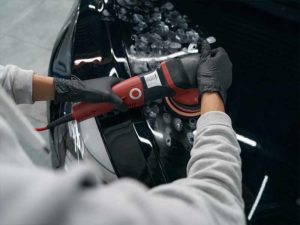
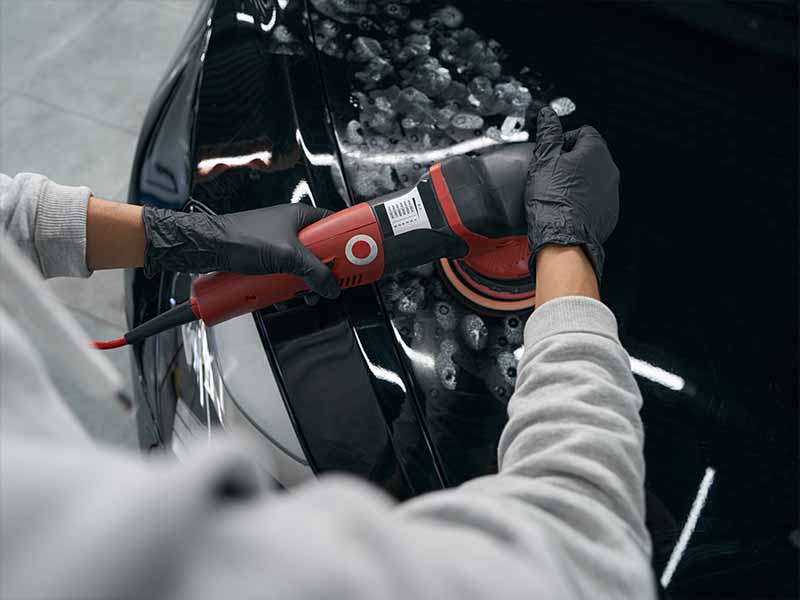
- 3M Stripe Off Wheel – 3M Stripe Off Wheel is an electric drill attachment that was created to remove anything that is stuck onto the surface of your vehicle including pinstripes on car surfaces. This product will be attached to an electric drill and will allow you to remove anything that is stubbornly stuck on to the paint job without removing the paint underneath resulting in a costly repair. It’s important that you use this device with care as if it is used incorrectly, it could result in damage to the car and the paint.
- Wax – Use wax as a finishing touch up. Make sure it is from a reliable brand and of good quality in order to avoid any mishaps when finishing your project.
- Goo Gone – An adhesive remover is a very important part of the process to remove pinstripes as it will take away any adhesive residue that has been left on the paint. Depending on the pinstripe you need to remove and the condition of the car, an adhesive remover can remove anything left behind.
Vinyl Pinstripe Removal (step by step)
- Clean the Area – Clean the area where you will be removing the pinstripe with a quick wash in order to prepare the area for the removal tool. You will attach this tool to an electric drill to use it on the area. It is essential when using this wheel that you see exactly where you are using it in order to prevent damage.
- Apply the 3M Stripe Off Wheel – Take the 3M Stripe Off Wheel that is now on your electric drill and operate it at around 2000 RPMs in order to avoid damaging the paint underneath the vinyl. Put the wheel onto the edge of the pinstripe and use light pressure to run the wheel over the vinyl. Go against the directional rotation of the wheel for easier removal and take your time.
- Remove the Adhesive – Once the 3M Stripe Off Wheel removes the vinyl, you will need to remove the adhesive residue with an adhesive remover. The leftover adhesive will wipe off and leave behind a pinstripe free surface.
- Wax to Finish – Once that stubborn pinstripe is removed, apply some wax to the removal area. This will allow the area that was hidden under the vinyl to seamlessly blend into the surrounding paint.
How to remove pinstripes on your car (Painted on Method)
What you will need:
- Denatured Rubbing Alcohol – You will use denatured rubbing alcohol in order to remove the paint on the pinstripe with a little bit of elbow grease and time.
- Towels – You will need paper towels to act as a vessel to let the alcohol soak on the pinstripe without unnecessarily getting on other areas of the vehicle.
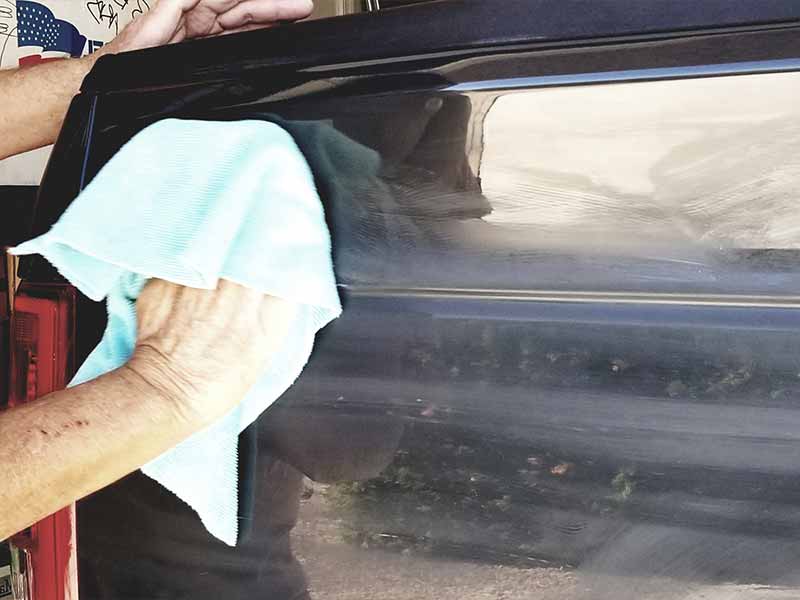
You will be using microfiber towels to rub the unwanted paint off of the vehicle. In order to keep your paint under the pinstripe looking pristine, use a microfiber towel such as the options by The Rag Company. These towels will protect your vehicle while you’re removing the layer of paint that makes up the pinstripe.
Painted Pinstripes Removal (step by step)
- Clean the Surface – It is essential that you start the removal process off with a clean surface. This will prevent you from damaging your car by rubbing any debris into the area and damaging it. A clean surface will also allow you to see the exact area that you are working with and give you a more effective removal.
- Apply the Alcohol – Fold up paper towels saturated in denatured rubbing alcohol and apply them to the pinstripe with a paint-safe tape. Allow the alcohol to sit on the surface for 5-10 minutes before you remove the paper towels and start the next step.
- Rub off the pinstripe – Dip your microfiber towel into some of the denatured rubbing alcohol and rub in a circular motion on top of the pinstripe until the whole pinstripe is removed.
- Finish Up – Wipe the area that you applied the rubbing alcohol to with some water in order to remove any of the remaining alcohol and paint chunk residues.
Helpful Links
Conclusion
Now you should be successful in removing those unwanted features, regardless if your pinstripes were painted on or stuck on. By following what you learned in this article, you can make your aging and outdated pinstripes disappear!