Table of Contents
When you are going through the hustle and bustle of daily life, sometimes scratches can’t be avoided. Once you start throwing in kids, different personal belongings, and pets—the number of interior scratches just seems to build up and become a negative focal point for your car.
In this article, I will show you the best way to DIY repair the scratches, no matter the size, out of the interior of your car, or on the plastic trim. With a little bit of care and patience, you can remove scratches yourself and you can get your car back to reflecting the care that you put into it.
How do you get scratches out of a car interior?
Scratch removal for cars is easier than you think and costs a lot less money, especially on your interior panels, than taking your car to a garage to get professionally detailed. You must approach this car scratch remover task with patience and some time. Although this DIY project to remove scratch in car interiors does not take a lot of time to repair, it is essential that you don’t rush to remove scratches. Rushing could cause the interior of your car to look worse than if you would have to just leave the scratches alone. By using the recommended tools and some tips that I provided, you will have all you need for a successful plastic repair project.
You will need:
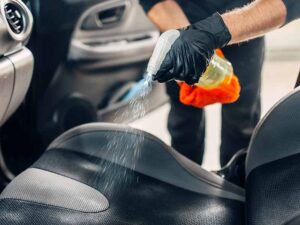
- Interior Cleaner – Having a good interior cleaner can make or break a DIY project. Without having this to clean the area, you have to deal with the dirt and debris from normal activities restricting your view of how deep the scratch may be or how far it extends. The interior cleaner that I recommend is Meguair’s All-Purpose Cleaner. This product works to clean on all interior surfaces and softens the fabric and brighten up the already existing color of the plastic. By using this cleaner, you are one step closer to making your interior area look brand new.
- Microfiber Towel – For every interior car DIY repair, a good microfiber towel such as the options from The Rag Company is an important item to use and have within close reach. You don’t want to put more scratches on your interior while you’re trying to remove some already and the microfiber material can completely dry a surface area, deliver a scratch-free finish to plastic trim and plastic interior, and is more durable than using any traditional shop towel.
- Heat Gun – You will be using a heat gun to heat the interior plastic to a workable level so that you can restore it back to its former glory. It is important that you remember to only use the heat gun on half heat so that the plastic doesn’t completely melt off the surface area. You just want the plastic to be soft, so take that into consideration once you start using the heat gun to remove scratches.
- Grain Pad – A grain pad can be gotten for quite cheap and it is truly what restores the interior to what it was before the scratched plastic. A grain pad can be bought to match all different types of plastic grains and can make the area of plastic look as if the damage didn’t even exist.
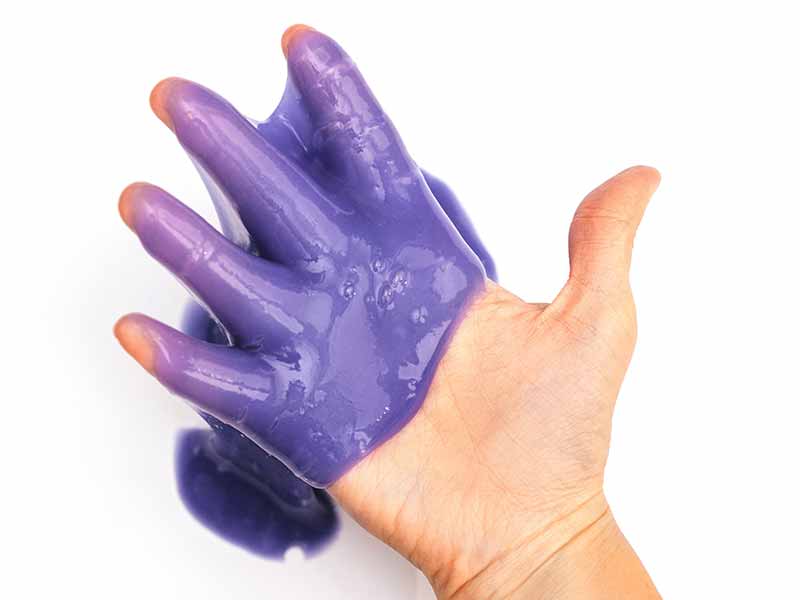
- Note: If you don’t have a grain pad, or can’t find one that matches your exact interior, you can make your own to use! Use a quality UV interior protectant like 303 Aerospace Protectant on the area to ensure that the stamp you are making won’t stick. Use a dent pulling tab and apply hot glue to the surface. Let it sit for a few seconds on an undamaged plastic area that is coated with the interior protectant. Let it dry for 30 seconds, then spray the stamp area using isopropyl alcohol, this will allow the stamp to peel right off leaving you with a custom made grain pad to restore your scratched plastic.
- Sandpaper – You will need sandpaper in a finer grit size such as 1500 or 2000 grit. This is optional and should just be used if any area sections look abnormal or stick up more than the rest. This sandpaper should only be used for fine detailing and use caution when sanding to make sure you do not remove too much excess plastic.
- Interior Protectant – A good interior protectant such as the one 303 Products has to offer is essential for making your finished plastic or plastic trim repair to last longer and look its best. This protectant has powerful UV blockers to prevent fading, cracking, and premature aging for your newly repaired interior area. This protectant also constantly works to remove and repel dust and dirt from the surface leaving behind a clean finish with little to no effort.
How to get scratches out of car interiors
- Clean the Surface – Clean the inside of the car with a good interior cleaner. You need to clean the area that you will be working on to eliminate any dirt or particles that could get in the way of you having a successful project. Once you have finished cleaning the area, be sure to dry it completely with a microfiber towel to prevent any more scratches or gouging of the paint.
- Apply Heat – Use a heat gun at around half of its heat capacity and apply it to the scratched interior plastic area. This will warm the plastic piece to where it is soft and malleable. Use caution with this step as you are working with heat which can cause burns from melted plastic.
- Texturize – Select a grain pad that matches the texture of the interior area of your car. Take the grain pad and apply firm pressure to the area softened by the heat. This will take the clean area that has been smoothed from the heat gun and add some texture back into the plastic to match the surrounding undamaged area.
- Cool and Evaluate – Allow the interior plastic to dry and cool. This will allow the texturization to finalize that you just applied to the surface. Once the area is cool, look and see if anything is sticking up in the area that you may need to remove using sandpaper. Look for any noticeably large lumps and bumps or anything that you just aren’t satisfied with.
- Clean up with sandpaper (Optional) – If you find anything that you would like to address, now is the time to do it! Take fine-grit sandpaper (1500 or 2000) and sand down the problem area in a circular motion until the surface has a more uniform appearance. If you do happen to sand down any spots, make sure to clean and dry the area using the interior cleaner before you proceed with finishing to remove all of the sanding particles off of the plastic.
- Protect the Finish – Spray an interior protectant on the air that you repaired to seal in your now damage-free interior. An interior protectant should be wiped over the entire interior surface in a circular motion to avoid streaking. This will protect against the UV rays that normally cause your interior plastic to naturally age leading to cracks and fading. Over time, this will allow your project to last longer and keep from depreciating in value.
Does scratch remover for cars work on interiors?
An interior scratch removal car kit is best to remove scratches and deep gouges that you may have embedded in your dash. The typical scratch removal kit for a car’s interior comes with some type of filler (a glue), an activator, and a dye to match the color of the interior. This method can be a bit more pricey than the heating and sanding method, so it is best to evaluate the scratch before deciding on a method.
Can you get key scratches out of a car?
Key scratches are one of the most common marks that we will find all over our car from the exterior paint to the interior dash panels. These scratches also can be short and deep or long and shallow. It is up to you to evaluate how you will deal with it. Do you need the scratch to be filled? Go with the scratch removal kit method. Do you have a bunch of long drug out scratches? Use the heating method and resurface the panel. Either way, those key scratches will disappear right before your eyes with a little bit of time, patience, and effort.
How do I fix a scratch on my dashboard?
Scratches on your dash can be fixed the same way as any interior plastic scratch. You need to evaluate the scratch and then choose the appropriate removal method. Deep scratches get the filler treatment whereas the minor, surface-level scratches can be repaired using the heating and texturizing method.
What if my dashboard is vinyl?
If your dashboard is vinyl, don’t panic. These methods can work for you too! However, a vinyl repair kit is better for this endeavor instead of the heating method. Although heating can be effective, you will get better results with a repair kit. Vinyl is a material that can be hard to work with so eliminating all of the extra variables will do good for the project. These vinyl repair kits typically come with an epoxy material that will fill vinyl cracks effortlessly and take out a lot of the guessing game that comes with heat settings.
Helpful Links
Conclusion
As you can see by this article, filling in scratches for your car’s interior is a lot easier than you would have ever imagined. With a DIY this easy, why would you not give it a try? It will boost the overall appearance of the vehicle and could increase your trade-in value exponentially. You take care of your car too well for letting daily life get in the way. Repair your interior cabin today and let your car interior shine as if it just rolled off the lot.